
- Why Parallettes
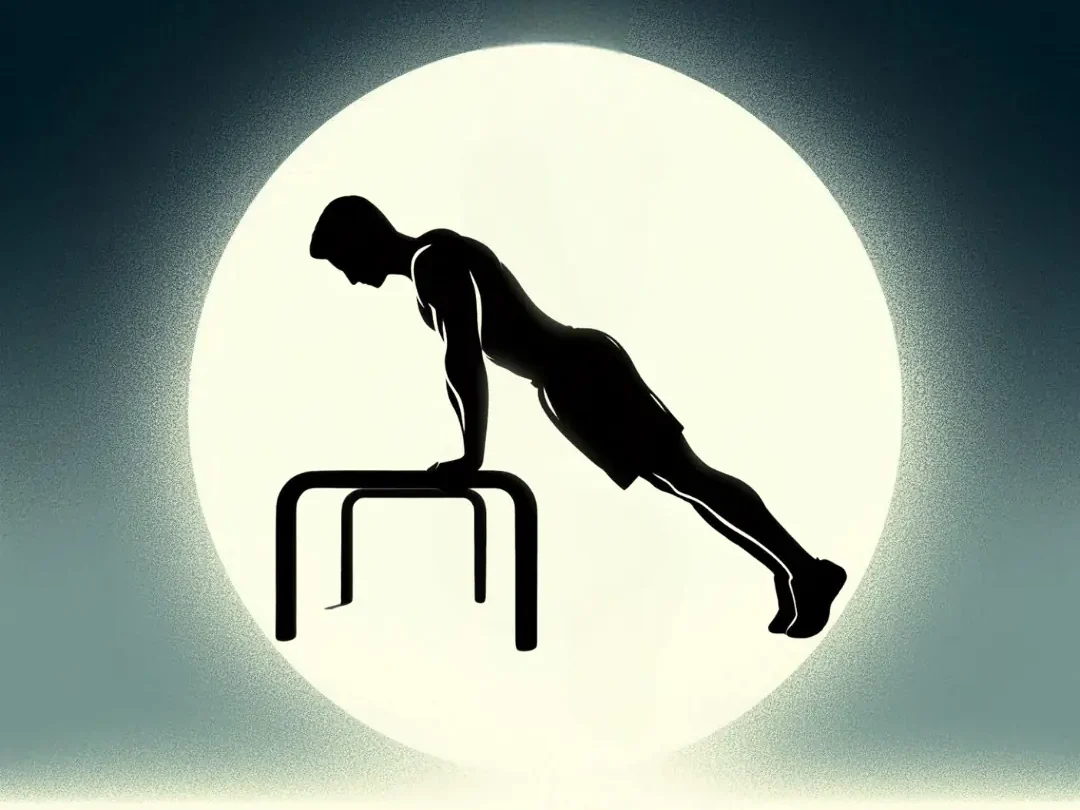
- Exercise 1 – Incline Push Ups (and variants) (beginners)
- Exercise 2 – Bench Dips (beginners)
- Exercise 3 – Crow pose – best starter parallettes exercise skill
- Exercise 4 – Decline Push Ups (and variants) (intermediate)
- Exercise 5 – Tucked handstand (intermediate)
- Exercise 6 – L-Sit (intermediate)
- Exercise 7 – Pike Push Ups (Advanced)
- Exercise 9 – Planche Leans (Advanced)
- Exercise 8 – Tuck Planche (advanced)
- Exercise 10 – Handstand (advanced)
- Exercise 11 – Straddle Planche (professionals)
- Exercise 12 – Full Planche – Hardest Parallettes Exercise
Why Parallettes
Paralletes exercises are an awesome thing for your upper body, especially chest, arms and shoulders. But first, I thought parallettes were about as useful as a screen door on a submarine. Why bother with them when you can just plant your hands on the floor? Wrong. Turns out, these little bars are game-changers. The biggest win?
Your wrists. Trust me, your future 40-year-old self will throw a party in your honor for sparing them the wear and tear. Also exercises feel easier on parallettes—not because they’re less intense, but because your hands and wrists sit in a more natural position. This lets you push your muscles harder and progress faster.
I’ll never forget the first time I used them. My crow pose went from a shaky 15 seconds to a solid minute almost overnight. It’s like they handed me a cheat code for strength and stability. And no, it’s not about taking shortcuts; it’s about working smarter.
If you don’t already have a pair of parallettes to exercise on make sure to snag one from below (they’re good):
-
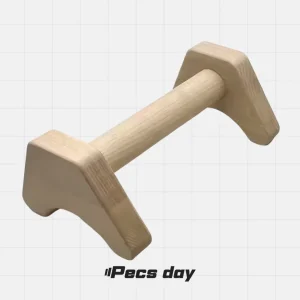 Walnut push up bars30,00 $
 -
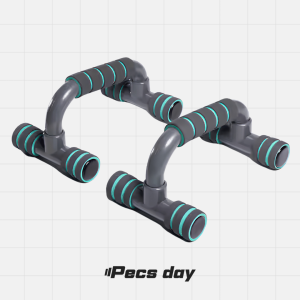 Plastic Parallettes25,00 $
Exercise 1 – Incline Push Ups (and variants) (beginners)
I once did 200 pushups daily as my calisthenics push workout for 30 days. Sure, my strength skyrocketed, but my wrists? Let’s just say they weren’t thrilled. Enter parallettes. These little bars elevate your hands slightly, reducing wrist strain while letting you dive deeper into movements like the pelican position for an extra chest burn.
Moreover, archer pushups challenge your arms and shoulders, diamond pushups hammer your triceps, and wide pushups give your chest a broader workout. Each variant targets different muscles, keeping things fresh and effective.
For beginners, incline pushups on parallettes are a game-changer. They’re easier on the joints and let you build strength without feeling like you’re fighting gravity with every rep.
Exercise 2 – Bench Dips (beginners)
Bench dips are your gateway as a beginner. This beginner-friendly move is simple yet effective, and you can easily adjust the difficulty to match your strength level. By placing your feet higher or lower relative to your hands, you shift more weight onto your arms, making the exercise tougher or easier. Want an extra challenge? Toss on a backpack or weighted vest
Bench dips primarily target your triceps, shoulders, and chest, making them a fantastic addition to your calisthenics routine. Just make sure to keep your body straight and have good form
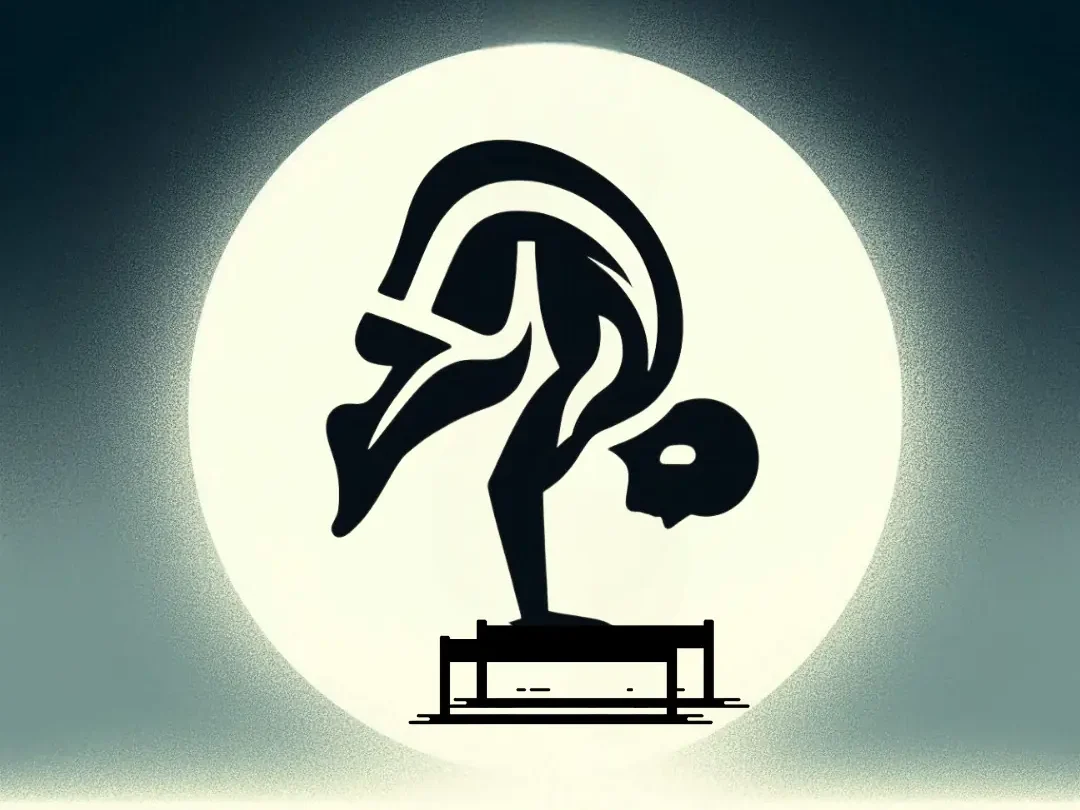
Exercise 3 – Crow pose – best starter parallettes exercise skill
As I was talking about, this exercise is 10x easier on parallettes. Why? Because your bottleneck will become your balancing skills, not an awkward hand position. Start by placing your knees on your triceps (yes, right there) and slowly lean forward.
The key? Stay in control. Feel the shift in your weight as you hover. If you wobble or only last 3-5 seconds at first, don’t sweat it. The point is progressive overloading your balance. What’s cool about this pose is how it sneaks in a full-body workout. Your shoulders, core, and upper back all get in on the action without you even realizing it
Exercise 4 – Decline Push Ups (and variants) (intermediate)
This is a tricky exercise when it comes to arching your back and not engaging your core. Four years ago, I thought I’d broken my back because I arched it instead of keeping it straight and my core tight. Fortunately not, it was just a lower back muscle strain
The beauty of decline push-ups lies in their versatility. Using parallettes, you can lower your chest further than usual, giving your pecs a deeper stretch and a more intense workout. Plus, you can mix it up with variations like wide-grip, diamond, or even arched push-ups to target different muscle groups. Each variant brings its own challenge, so don’t shy away from experimenting.
Don’t rush through the reps. Slow, deliberate movements will not only protect your back but also maximize muscle engagement.
Exercise 5 – Tucked handstand (intermediate)
This is one of the few moments in calisthenics when you will feel like a superhero as a beginner-intermediate. When you unlock this move, it will feel very gratifying. I think this is a nice progression after you master the crow pose and l-sit.
Start by removing your knees from your triceps in the crow pose. Then, fight gravity to lift yourself up, even if it’s just a tiny bit at first. It’s a battle, but one worth fighting.
Another way to train the tucked handstand is to use the wall. Place yourself facing the wall in a tucked handstand position and with your legs barely touching the wall and slowly lift them.
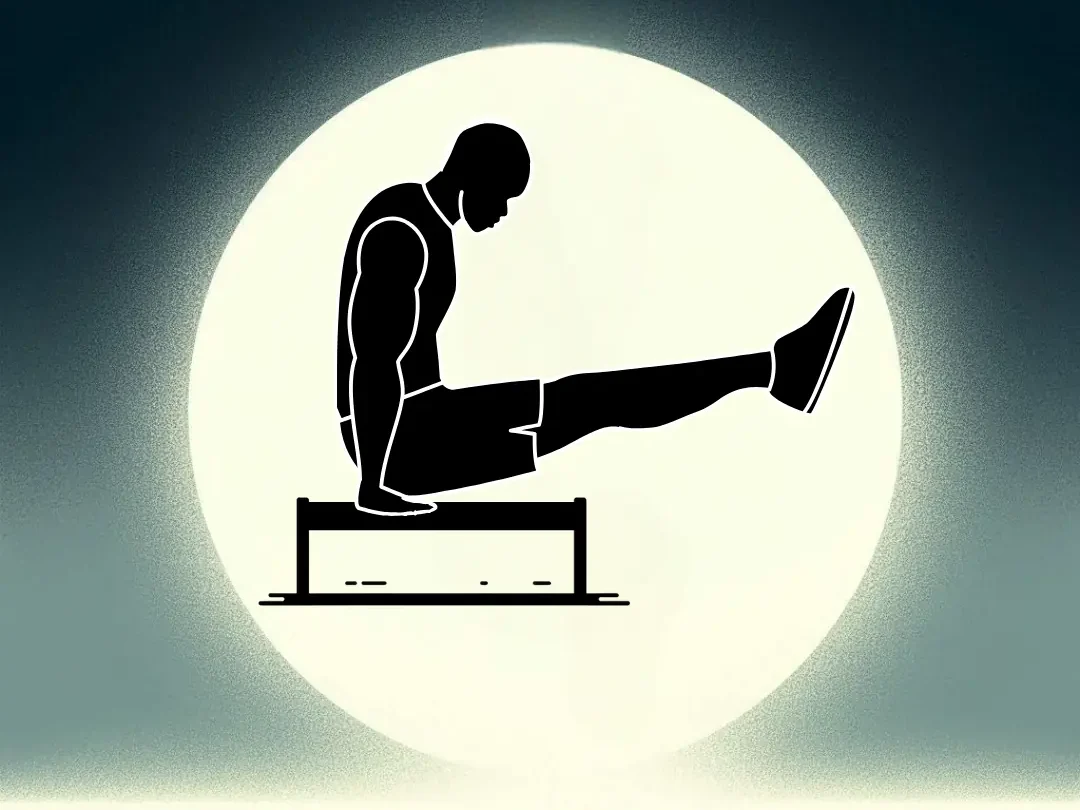
Exercise 6 – L-Sit (intermediate)
The L-sit is deceptively challenging—far more difficult than it appears at first glance. Your abs will feel like they’re on fire within seconds of holding this position. Many people mistakenly compare it to the L-sit performed on a pull-up bar, but don’t be fooled! This version is considerably more demanding because the bars are positioned above your body rather than below, completely changing the mechanics.
When attempting the L-sit on parallettes, you’ll notice it’s significantly more manageable than trying it directly on the floor. The elevated position gives your legs clearance that makes the exercise possible for most intermediates. That’s why I put the parallettes high up on my best calisthenics equipment list. It makes more exercises easier and you can build more muscle because of that
If you’re struggling to hold the position, try a helpful trick: position your buttocks slightly behind your hands to better distribute your weight and find your center of gravity.
What makes this move so effective is how it engages multiple muscle groups simultaneously. Your core does the heavy lifting, but your shoulders, triceps, and even your hip flexors get serious work too.
Exercise 7 – Pike Push Ups (Advanced)
While the standard floor version is effective, you’ll hit a literal roadblock – your head. When doing pike push ups on the ground, your range of motion stops the moment your head touches the floor, cutting the exercise short right when it’s getting good. The difference is like comparing shallow breathing to taking a full, deep breath.
Parallettes instantly double your range of motion by creating space for your head to travel below your hands. This deeper position allows your shoulders to work through a much fuller range, creating significantly more tension in the deltoids and surrounding muscles.
Plus, the elevated hand position improves wrist comfort, allowing you to focus entirely on the shoulder work rather than wrist discomfort.
PS: you can also do the Pike push ups on the rings with the same effect, along with other effective ring exercises
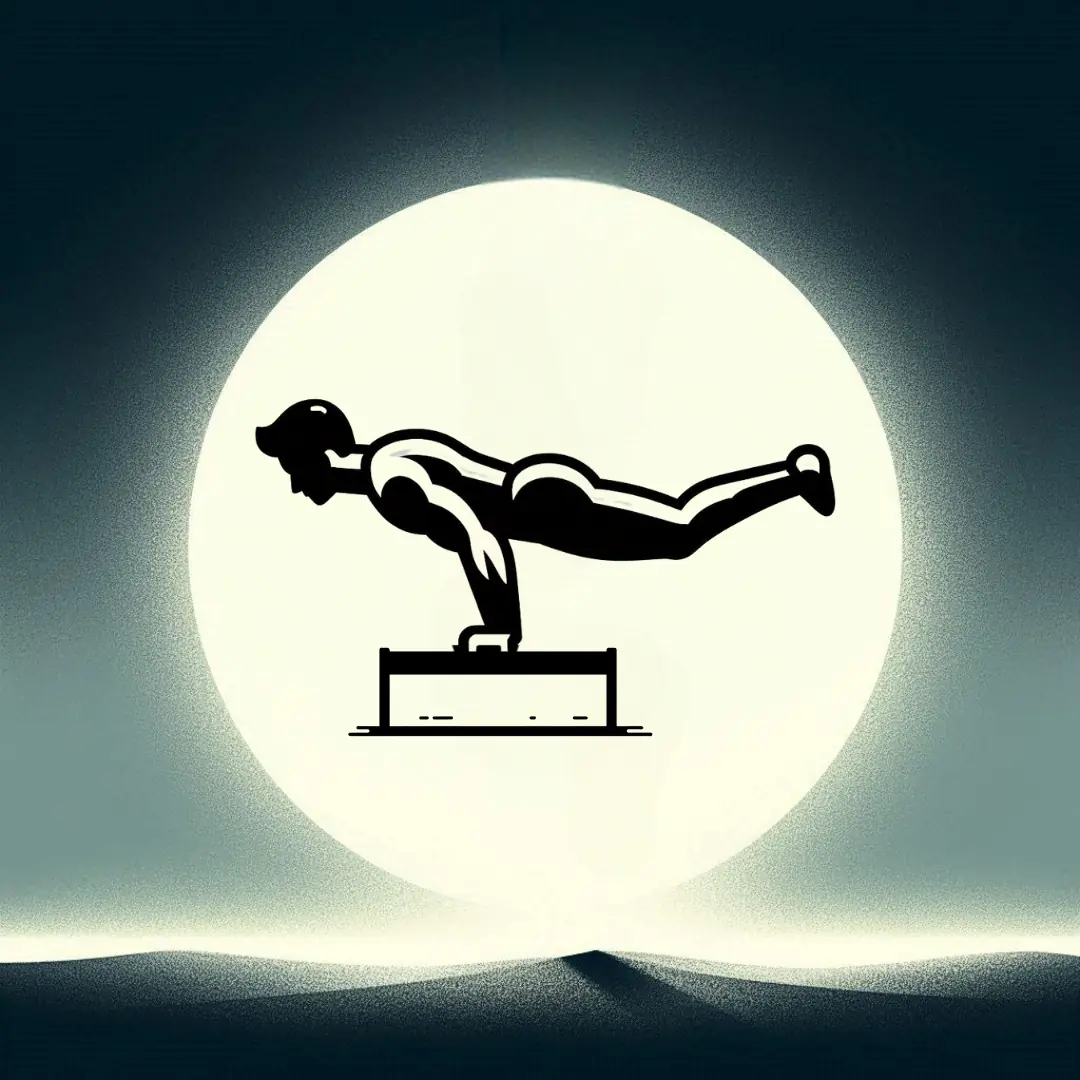
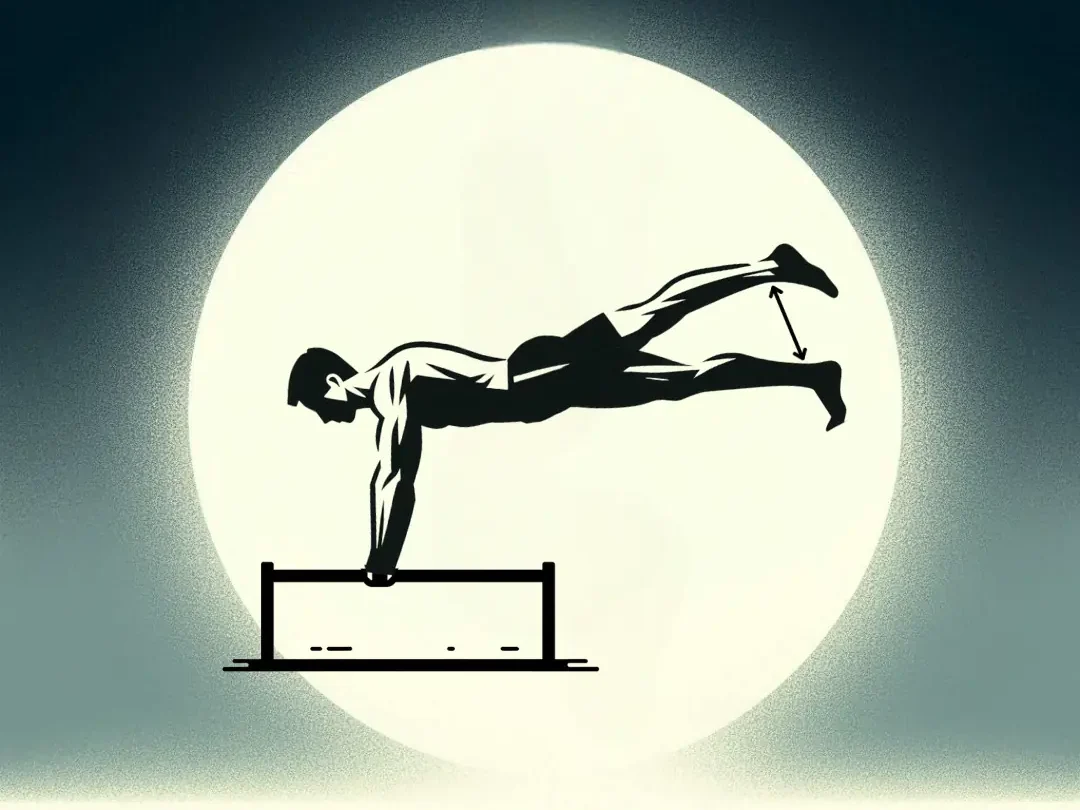
Exercise 9 – Planche Leans (Advanced)
Planche leans offer that sweet spot of difficulty. They hit those same muscle groups as a complete planche but with a touch of mercy. For beginners to this movement, try positioning yourself against a wall—this gives you the freedom to lean forward while having something to catch you if gravity decides to show off.
I feel those are easier than tucked planches but still hard enough to give you some balance. You can sustain yourself by placing your head into a wall so you can fall forward. It’s all about training the same muscles as the full planche, but with a bit of support. You can lift a leg if you feel like it
Exercise 8 – Tuck Planche (advanced)
When you exercise for your tucked handstand the way i recommend it you’ll automatically train for the tuck planche aswell. For me they are not that different in difficulty, but for some they are. I would start with the crow pose, remove my legs and try to lift myself up, little by little until i can hold the plance for some time. Again, it’s a very satisfying exercise.
Some athletes find it helpful to lift one leg while performing the lean, which shifts your center of gravity and creates a different training stimulus. Though these leans might appear simpler than tucked planches, don’t be fooled—they still demand significant upper body control and stability.
The beauty of planche leans lies in their scalability; you can increase the forward lean as your strength improves, slowly working toward that coveted full planche position. With consistent practice, you’ll notice improvements in balance, shoulder strength, and overall body awareness
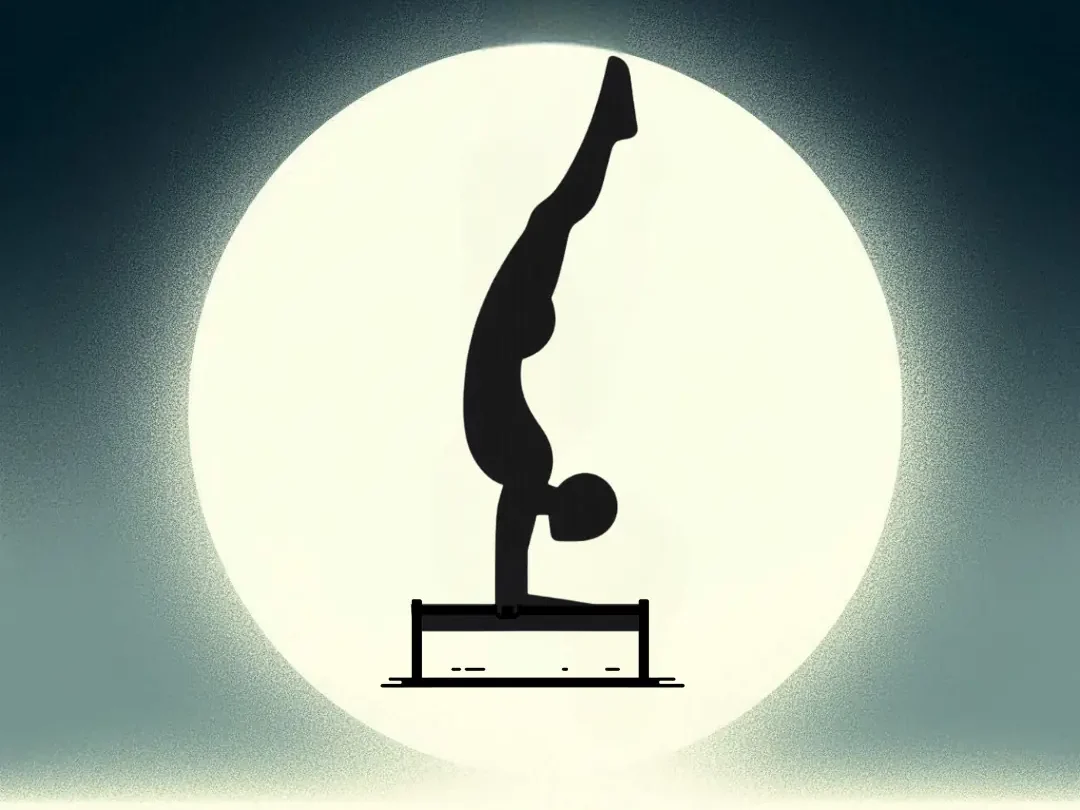
Exercise 10 – Handstand (advanced)
The handstand represents a pinnacle achievement in calisthenics, demanding significant strength, balance, and body awareness. This parallettes exercise builds naturally from the tucked handstand you’ve already mastered.
Begin your handstand journey by gradually extending one leg upward from the tucked position. Aim to hold this single-leg extension for 7-10 seconds before attempting to raise your second leg. This progressive method allows your body to adapt gradually and builds confidence.
Alternatively, you can position yourself near a wall for support. Start in a wall-assisted handstand, then carefully peel away one leg at a time from the wall. Exercise caution with this approach! Excessive forward momentum could lead to falls and potential injury.
Your stabilizer muscles need time to develop the specific strength required for this skill. Remember to breathe steadily throughout the movement—many beginners hold their breath, which actually makes balancing harder.
Exercise 11 – Straddle Planche (professionals)
The straddle planche represents a massive leap in difficulty compared to previous exercises on parallettes, arguably being harder than all the exercise until now combined.
Your body needs time to develop the extraordinary shoulder, core and wrist strength required. Begin with the tucked planche position, where your knees are pulled toward your chest. Once you can hold this consistently, start extending one leg at a time.
Record yourself occasionally to check your form. This takes time, but it’s not impossible.
Exercise 12 – Full Planche – Hardest Parallettes Exercise
The full planche stands as the crown jewel in parallette calisthenics—a movement that separates casual practitioners from dedicated athletes. Most enthusiasts take the long road through planche leans or straddle planches before attempting this beast, and even then, expect months of consistent training before mastery.
I haven’t conquered this move personally, so I can’t offer deep insights from experience. However, those who do typically emphasize building foundational strength through progressions rather than rushing straight to attempts.
