
This comprehensive list features my trial & error over my 7 years calisthenics journey. The equipment outlined below is what I use daily to let me train quickly and effectively
| Essential Calisthenics Equipment | Non-Essential Calisthenics Equipment |
| Gymnastic rings | Weighted vest |
| Leg resistance bands | 2. Dip belt |
| Pull Up Bar | 3. Dip bar |
| Parallettes | 4. Gloves, chalk, Matts, kettlebells, steel clubs |
#1 Tip When Buying Calisthenics Equipment
The no. #1 tip I can give you when buying calisthenics equipment is to buy fewer pieces but of higher quality. Since most calisthenics equipment can last you 5+ years, it doesn’t make sense to cheap out. If you calculate the price per workout over the long period that this equipment will last you, you will realize that it is pennies.
I got my first pair of rings back in 2019, and they lasted me until 2024, and that was because I started leaving them in the rain in 2023 (now I got plastic ones). Again, I got my weighted vest back in 2021, and it holds fine even now (if you ignore the rust and tears).
Shameless plug, but we’re really proud of our equipment and you should really take a look.
Isn’t Calisthenics Supposed to Be Equipment Free?
I’m not gonna fall into the camp of telling you to buy an entire store worth of equipment, nor I can lie that specific pieces help a lot on your journey. In this article, I want to explain why you need 1–3 pieces starting out, then why you need the other ones as you progress on your journey.
Moreover, investing in some pieces will 1. act as a commitment for starting this wonderful sport and 2. will act as a visual cue to motivate you to start working out (works well with my push up board because it’s very colorful).
Calisthenics Equipment I Use:
So without further ado here are the best pieces of calisthenics equipment in my opinion, in chronological order
#1 Plastic Calisthenics Rings
This single piece of gear can transform your upper body training. The unassuming circles are ridiculously versatile, letting you target every muscle group from your shoulders to your core. They are compact, adaptable, and surprisingly powerful, hence why every advanced calisthenics athlete recommends them.
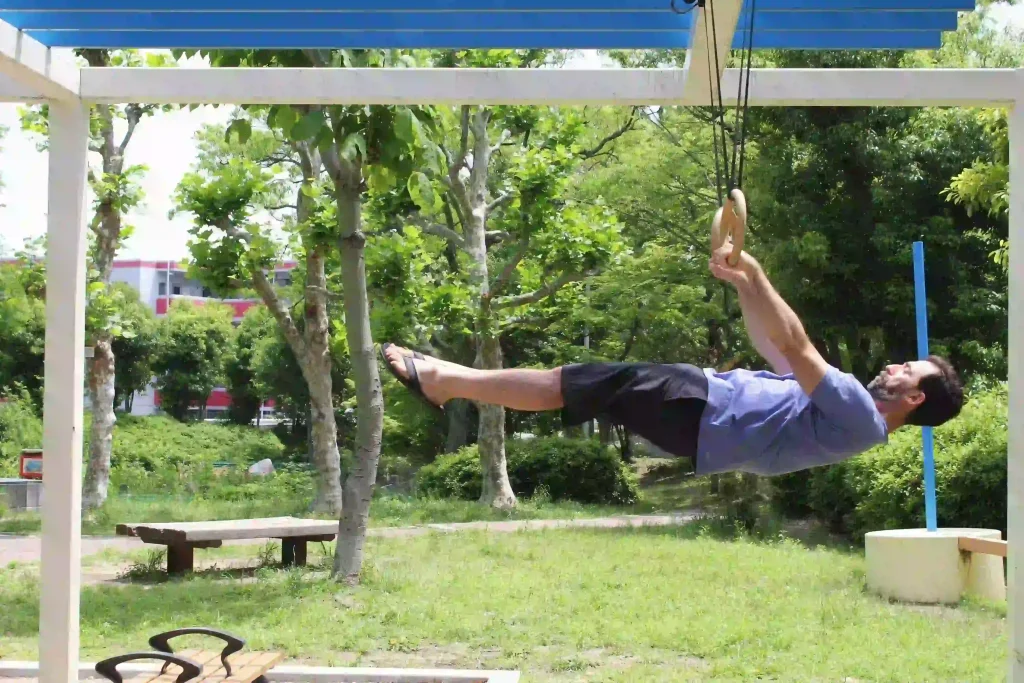
Now, I won’t sugarcoat it: rings are tough. The first time you try a ring dip or push-up, you might feel like a newborn giraffe trying to stand. But here’s the beauty of it—there’s always an easier version to start with. You don’t have to be a gymnast to benefit from them. And actually, they were my first piece of equipment from 6 years ago when I started this journey.
What makes rings truly special is how they force your body to work harder. Unlike fixed bars or benches, rings demand constant stabilization, engaging muscles you didn’t even know existed. Plus, they’re portable, affordable, and perfect for home workouts. Just remember: start slow, embrace the wobble, and enjoy the gains.
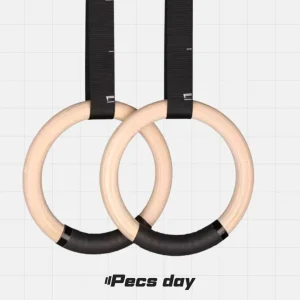
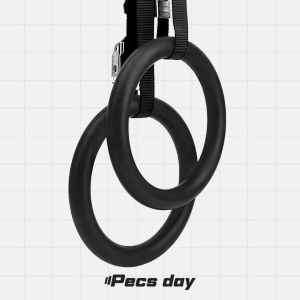
Plastic Vs Wooden
I first got started with wooden rings, but after a while I realized I don’t want to waste my time hanging my rings every time I used them. So I left them outside, until they started rotting. This made them unusable, and I had to buy new ones in about a year of letting them in rain & snow.

For sure wooden rings are friendlier with your hands than plastic rings, but if you hang your rings outside, and you value your time, a nice pair of plastic rings are more than worth it
Calisthenics Ring Benefits
- Unlike traditional exercises that focus on movement, rings let you master holds—think planches, levers, or even just a solid support hold.
- Rings are incredibly adaptable. Tucked Rows become easier when you put your feet on the ground, and dips too. Exercises like the ring fly, rows, and the ring push-up can be made easier just by changing the angle of your body.
- Oddly satisfying. It’s like being a kid on the monkey bars, except now you’re building a rock-solid core and chiseled arms. Whether you’re holding a front lever or just practicing your support, rings challenge your body in ways that feel fresh and exciting
Calisthenics Rings Cons
Couldn’t find any, lol. Maybe if you’re not careful, you’re more prone to injuries and accidents, and if you hang them every time you waste 5 minutes per workout. But I don’t think you can get something as cheap and at the same time as versatile as these bad boys. Maybe I’m just biased, who knows.
-
 Wood Workout Rings40,00 $
 -
Product on sale
 Plastic Gymnastic RingsOriginal price was: 34,99 $.29,99 $Current price is: 29,99 $.
Calisthenics Exercises Using Rings
The best part about the rings is that most exercises got a ring variant. The core 3 of building a great upper body: Chin ups, Pull ups and Push ups are all doable on the rings, plus most of the skills (good luck, they’re even harder).
Here are my favorites skills and exercises:
- Ring dips (if too hard place your feet on the ground, if too easy do Bulgarian ring dips)
- Ring pushups (archer and pelican pushups are super fun on the rings)
- Ring pull ups (place one ring higher for a harder variation)
- Ring chin ups
- Ring Fly & Reverse fly (i.e. being above or below the rings. These will get you wide)
- Them skills (L-sit, Back Lever, Front Lever, etc.)
PS: use our app if you want a good roadmap of all the skills
PPS: here is a calisthenics push workout for more ideas
#2 Leg Resistance Bands (Best legs calisthenics equipment)
Let’s talk legs—because calisthenics can feel a bit like a one-trick pony when it comes to lower body training. Squats and calf raises? Solid, but they only get you so far. Enter resistance bands. These stretchy little powerhouses are perfect for targeting your glutes and thighs, adding the kind of resistance that body weight exercises alone can’t deliver.
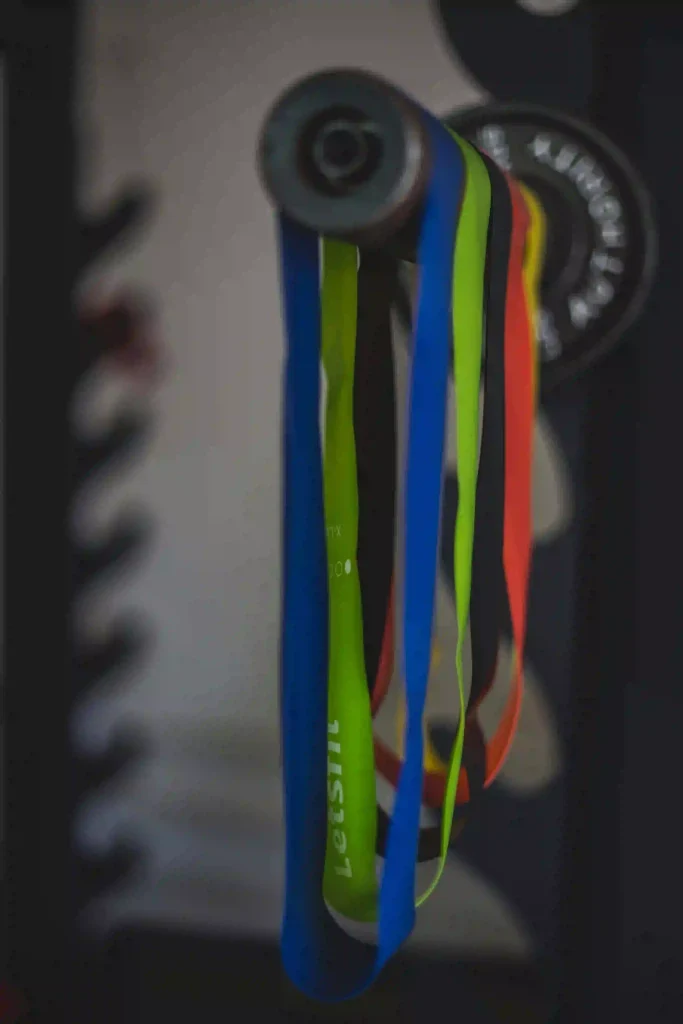
And here’s the kicker: they’re dirt cheap. Textile-based leg resistance bands are especially great—less slippery, less likely to roll away mid-set, and way more forgiving on your skin. No one wants to chase a rogue band across the room mid-workout, right?
They’re compact, versatile, and pack a punch where it counts. So, if you’re tired of feeling like your leg workouts are stuck in first gear, grab a set. Your glutes will thank you.
Leg Resistance Band Benefits
While they’re great for arms, resistance bands truly shine when it comes to targeting your glutes and thighs. Think squats, lunges, or lateral walks—each movement gets an extra kick of resistance, making your muscles work harder without needing a gym.
What’s cool is how they adapt to your fitness level. Whether you’re a beginner or a seasoned pro, you can adjust the band’s tension to match your strength. Plus, they’re perfect for adding variety to your workouts. Loop a band around your thighs and feel the burn in places you didn’t even know existed.
And let’s not forget the convenience. No heavy weights, no bulky machines—just you, a band, and a lot of sweat. So, if you’re after a tool that’s practical, effective, and easy to use, resistance bands are a no-brainer.
Leg Resistance Band Cons
The main con of Leg resistance bands are the accidents. That’s why I recommend picking up the textile ones. They are much less likely to just snap, and you can better see the wear and tear in them. Also they are wider and grippier, which makes them less likely to slip.
Calisthenics exercises using Leg Resistance Bands
- Diagonal, lateral band walk (Glutes & Thighs)
- Glute Kickbacks (Glutes & Hamstrings)
- Resistance Band Leg Lifts (Glutes & Thighs)
- Resistance Band Squats (Glutes, Quad & Hamstring, depending on where you put the band)
- Clamshell (Inner & Outer thigh, Glutes)
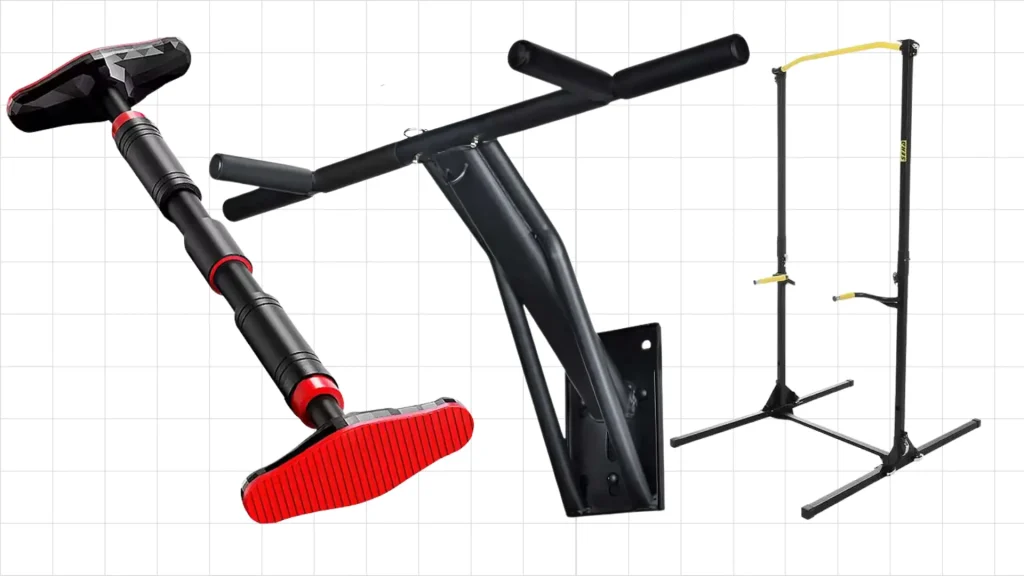
#3 Door Frame Pull-Up Bar
It’s one of the simplest yet most effective tools to build upper body strength, and it’s super easy to use throughout the day. Think about it: every time you walk through that door, you can crank out a few reps. Waiting for your coffee to brew? Pull-ups. Taking a break from work? Pull-ups.
What makes this piece of equipment even better is its versatility. If you opt for a model with screws, you can attach gymnastic rings to it, opening up a whole new range of exercises like ring dips, rows, or even muscle-up progressions.
And let’s be real—space is often a concern. A door frame bar doesn’t take up any room when not in use, making it perfect for small apartments or shared spaces. Plus, it’s budget-friendly compared to bulky gym equipment
At-Home Pull-Up Bar Benefits
A door frame pull-up bar might just be your ticket to a killer home workout, especially if you’re in a cramped apartment or rental where drilling holes is a no-go
- Perfect for Small Spaces – A door frame pull-up bar fits right in without drilling or permanent fixtures, making it a top choice for renters and small apartments.
- The Ultimate Ring Hanger – Hanging a pair of rings instantly unlocks harder exercises like ring dips, rows, and even muscle-ups—without needing a bulky power rack. But be careful with the no screws option because you might fall. I would recommend instead a pull up bar with a screw design
- More Gains, Less Hassle – No setup, no extra steps—just grab and go. This frictionless access helps you train more often, hit more muscle groups, and get stronger faster.
- Versatile Workouts – It’s not just for pull-ups. Use it for hanging leg raises, front lever progressions, and even resistance band work.
- Portable & Affordable – Compared to racks and power towers, a door frame bar is a budget-friendly powerhouse. Plus, you can easily take it with you if you move.
Door Frame Pull-Up Bar Cons
Look, let’s be real about pull-up bars – they’re not perfect. First up, safety is non-negotiable, so you’ll need to shell out for a premium model. Those budget-friendly bars might seem tempting, but a wobbly pull-up bar is basically an injury waiting to happen.
Here’s something that catches many people off guard: these bars don’t play nice with every doorway. You might be pumped to start your home workout journey, only to discover your door frames aren’t compatible. Measure twice, buy once – that’s the golden rule here.
And let’s talk about door damage. Over time, you might notice pressure marks on the frame or small scuffs where the bar makes contact. Some padding helps though.
But here’s the plot twist – despite these drawbacks, a door frame pull-up bar is still one of the smartest investments you can make for home workouts. The convenience and effectiveness of having pull-ups at your fingertips outweigh these minor hassles. Just pick the right one, treat your door frame with care, and you’re set.
Calisthenics Exercises Using a Door Frame Pull-Up Bar
- Pull-ups (do them in an L-sit position for ab growth)
- Chin ups (do them as well in L-sit position)
- Wide Pull ups
- L-sit
- Leg Raises
- Toes to bar
#4 Parallettes / Push up board
This might come at a surprise for putting Parallettes & a push up board in the same category, but from a first principle thinking, they serve similar perspectives. The only difference is that the push up board guides you better if you are a beginner.
The main reason I like the Parallettes is that it allows me to do skills more easily and reduces my wrist strain. And this might not seem like a compelling reason at first, but being able to do more skills means that I can work more muscles and get stronger.
Benefits of Parallettes / Push up Board
- Less Wrist Pain, More Gains – Ever felt that annoying wrist strain after push-ups? That’s your ligaments begging for mercy. Parallettes fix this by keeping your wrists in a neutral position, reducing long-term wear and tear.
- Deeper Range of Motion – Standard push-ups limit how far you can go. With a push-up board / parallettes, you dip lower, activating more muscle fibers and getting stronger, faster. More depth = more gains.
- Better Form, Smarter Training – Sloppy form? Not on the push up board. It forces proper alignment, making it a must-have for beginners learning muscle engagement. You’ll actually feel which muscles are firing during different exercises.
- Unlock Harder Skills – Handstands, L-sits, crow poses—these all become way more manageable. The improved hand positioning gives you more control, so you’re not fighting against awkward wrist angles while balancing.
Small piece of equipment, big benefits
Parallettes Cons
Couldn’t find any. Parallettes & Push up boards are small, cheap & super useful.
But if you find yourself getting cheaper ones or building them at home, you can end up injuring yourself if they break.
Calisthenics Exercises Using P-Bars:
- Crow poses
- Tucked Handstand
- All Push-up Variations
- L-sit
- Handstand and other harder skills
Calisthenics Equipment I don’t recommend starting out with:
Even though I think most calisthenics pieces are worth it and serve specific purposes, starting out with some will either limit your exercises since they serve specific functions or are for more advanced use cases. Some of those pieces I even own myself, but I wouldn’t recommend them in your first 1-3 years of calisthenics.
#5 Weight Vest
How can one of my favorite pieces of equipment end up on my no-buy list? I got my weighted vest 3 years into my calisthenics journey, and it was versatile for pushups, in a season of my life when I couldn’t hang my rings from anywhere.
And it was worth it. The reason I don’t recommend it starting out is because you can make your favorite exercises harder in 2 ways: doing harder variations or adding weight. When I added weight to my pushups instead of doing harder variations, I had a minor back injury that scared the crap out of me.
That’s when I had the realization that doing exercises while weighted and on a bad form can make the injuries even worse. From then on I watched my form and everything was fine.
P.S.: Get the highest possible weight, since you can incrementally adjust it and you will outgrow 20lbs very fast, unless you’re overweight
Benefits of a Weighted Vest
- Most vests let you tweak the weight incrementally. This means you can start light and gradually add more resistance as you get stronger—no need to commit to a fixed weight right away.
- They’re way more versatile than dip belts. With a vest, you’re not limited to just pull-ups or dips. You can crank out push-ups, squats, lunges, or even go for a run. The options are endless, making it a powerhouse piece of equipment.
- Weighted vests make it super easy to hit that sweet spot of 8–12 reps per set, which is ideal for building muscle and strength.
- They look cool 😎
Weighted Vest Cons
- You can make your injuries ever worse, especially on pushups
- Heavy to carry and transport
- Can rust
- They get expensive after increasing the weight
Calisthenics Exercises Using Weighted Vest
Almost all calisthenics exercises can be done with a weight vest, that’s why I like it so much. I had even done running in a weighted vest
#6 Dip Bars
Dip bars are another piece of equipment that I love. You can do a lot of skills on them and a lot of dip variations. So why are they on the “no buy list”?
Because if you are starting out, getting a pull up bar and a pair of rings will bring you 70% there. At a later stage in your journey I absolutely recommend getting dip bars, they are awesome, but if you try to decide what your initial equipment will be, dip bars should be at the bottom of the list.
Benefits of Dip Bars
- Skill Builder Extraordinaire: Dip bars are perfect for mastering moves like the L-sit, V-sit, planche, and their progressions. They give you the stability and space to focus on form, making even the toughest skills feel achievable.
- The Dip King: They offer the right grip width and height, letting you go deeper and push harder on your dips. Your triceps, chest, and shoulders will thank you.
- Space-Saving Superstar: Most dip bars can be taken apart and tucked away. No need to sacrifice your living room to fitness gear. They’re practical for small spaces but sturdy enough for serious workouts.
Dip Bar Cons
- Some can get quite expensive
- Takes more space than other pieces of equipment
Calisthenics Exercises Using Dip Bars
- Rows (both assisted and tucked)
- Dips (And many variations of them)
- Skills like L-sit, V-sit, Planche, Front lever etc
#7 Weight Belt/Dip Belt
Same as weight vests, but less versatile since you can’t do all the exercises. You need to buy the weight separately, and the belt is a bit awkward in my opinion. If you want to move your legs freely when doing the exercises and not be afraid to have the belt fall off, getting a weighted vest is a better decision in my opinion.
But one plus over the weighted vest is the possibility to add much more weight (if you’re a less green version of Hulk, this might fit you better). If you happen to do calisthenics in a gym or to have weights already at home, the weight belt might be a better decision, but I would still try out the weighted vest.
Calisthenics Equipment
Investing in high quality calisthenics equipment can get you investing in the new healthy lifestyle you are trying to implement. Start easy with a pull up bar and some rings, and work your way up to resistance bands, weighted vests and parallettes. The best part about calisthenics is that a little will do a lot.